How to update your Shopify theme in 2020
Over the past couple years, Shopify has been releasing more and more powerful functionality to make running your online store easier than ever.
It’s even got some big 2020 plans coming up to take your store to the next level.
However, a lot of these benefits rely on how up-to-date your Shopify theme is.
Though it’s not the sexiest part of your site, your Shopify theme dictates not just generally how your site looks and feels, but what the shopping experience is like for your customers.
This includes how things are added to the cart, how slick the checkout process is (the smoother the better!) and other key customer experiences.
Today’s blog will give you key advice on how to update your Shopify theme and get set up for success.
We’re going to cover:
- Why you should update your theme (or, why sections are important)
- How to avoid breaking your site during the update by identifying custom code
- How to update your theme
- How to deal with old or highly-custom sites
- Why Shopify apps can be your best friends
The importance of (un)sectioned themes
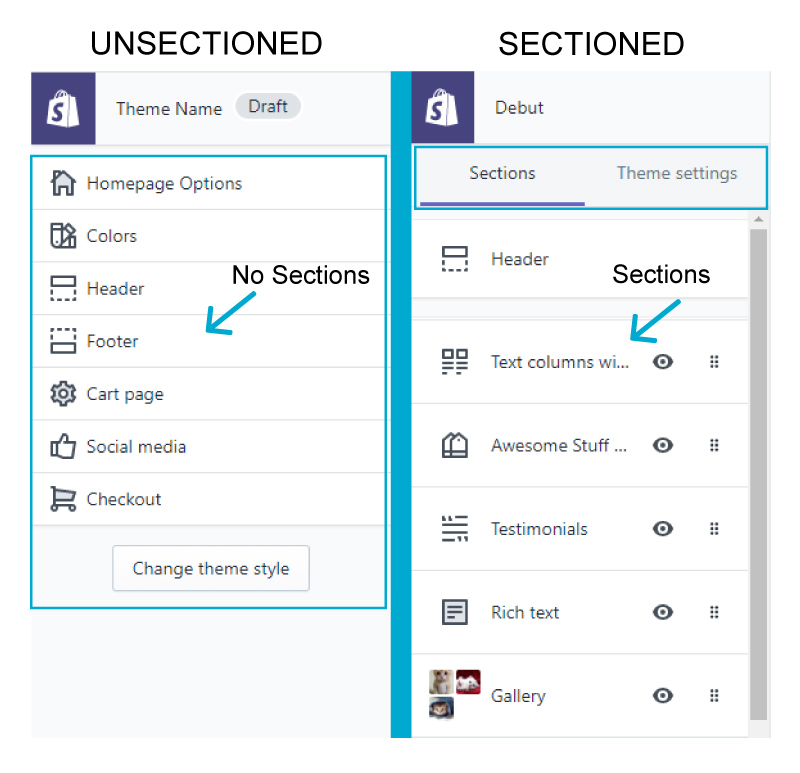
One big problem we often see is a client using an older theme that hasn’t been updated to get the latest features from Shopify, including sections.
When Shopify introduced sections back in 2016, they provided a powerful new way of structuring your site, allowing you to customize your theme without getting into the weeds of custom code.
With a drag-and-drop interface, they allow you to “easily add, reorder, and remove chunks of content such as products, slideshows, videos, or collections” on your homepage.
In 2020. sections will be available for you to use on almost all your site pages – which is just another reason you’ll want an easy way to update your theme in the near future.
You’ll know if you have an unsectioned theme when you compare the two menus in this image.
How to know if you have custom code
An unsectioned site just means your theme is pretty old. That’s not the worst thing (though you’ll enjoy the functionality you get once you update!)
When you’re looking to update your theme, what’s more important is whether you’ve added any custom code to your website over the years.
This might be having your buttons curved at the corners instead of sharp, or adding special icons to your menu bar. There are a lot of reasons people begin to fiddle with their themes.
The problem with this is that if you try to update your theme from an older version to a newer version, the new version overwrites the old one, and you lose all the custom code you’d added – all those fancy icons, any custom text decorations, etc.
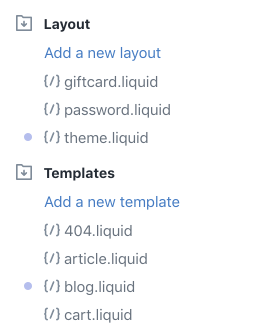
So the first thing you need to do is find out if you have any custom code.
How do you know if you’ve got custom code? Shopify makes it easy to find out. You’ll want to follow these instructions and see if you have any purple dots next to your theme files. This image is what it should look like if you do.
So how can you update your theme without breaking your site, and how can you future-proof it so you can always update to the latest version, worry-free?
Check out our basic tutorial below on how to update your theme, while making sure you have the backups you need along the way.
How to update your theme
First of all, go to your themes page on your Shopify store.
Download your current theme to make sure you have a copy to restore from.
1. Click on “Actions”
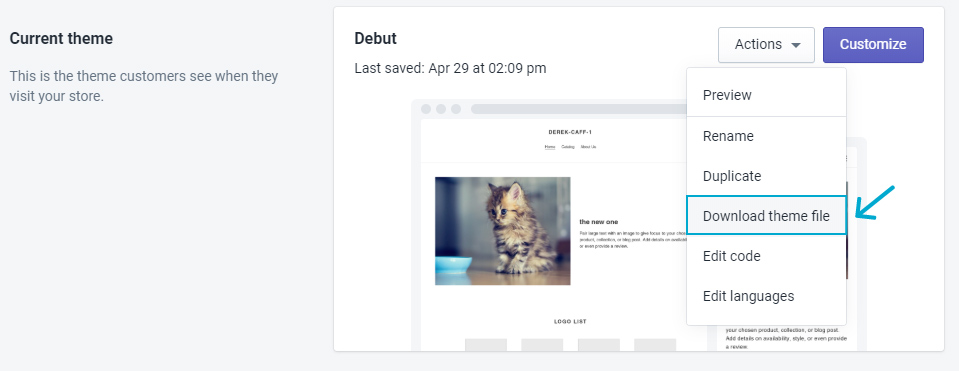
2. Then click “Download theme file”
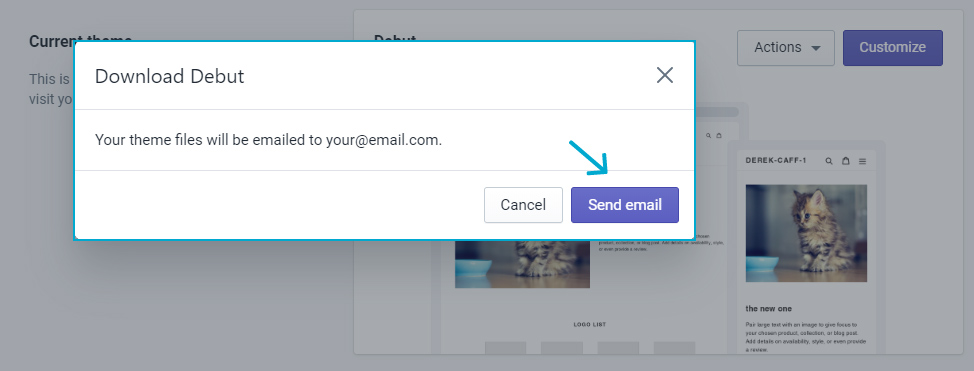
3. Simply save it on your desktop or in your files where you know you can find it. If you want to be extra careful, you can save it to a flash drive and store it somewhere safely.
4. Take a look at the zip file to be sure there are files in it – this way you can verify it will work.
Next, install the theme you want – we recommend Debut since it is constantly being updated with security fixes and feature enhancements by Shopify itself – but don’t “publish” it yet.
5. When you find the theme in the Shopify store, click the button “Start with this theme”
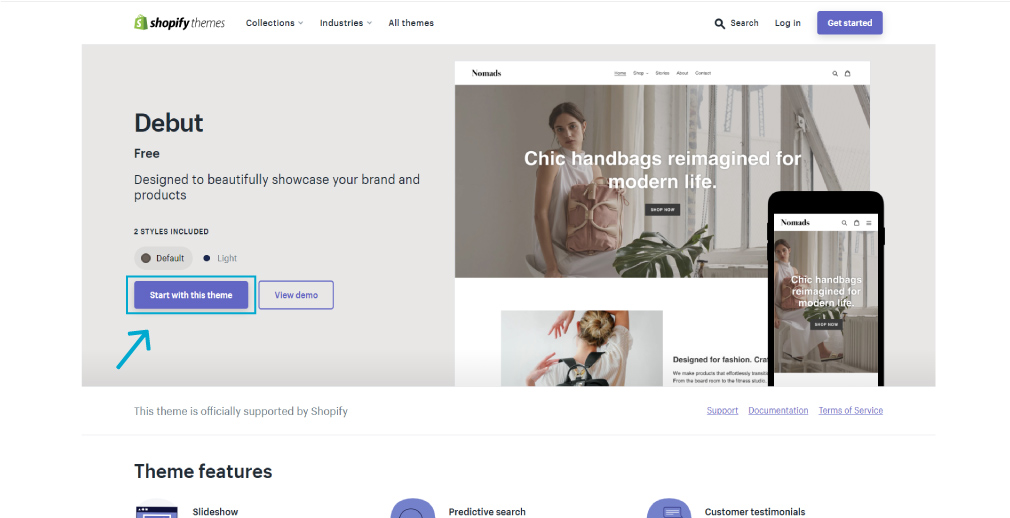
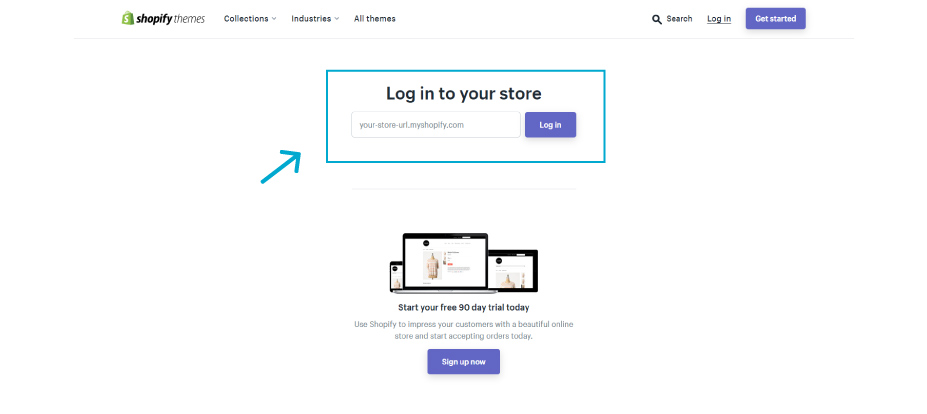
6. If you’re not logged in, it may ask you to sign in. Follow the instructions.
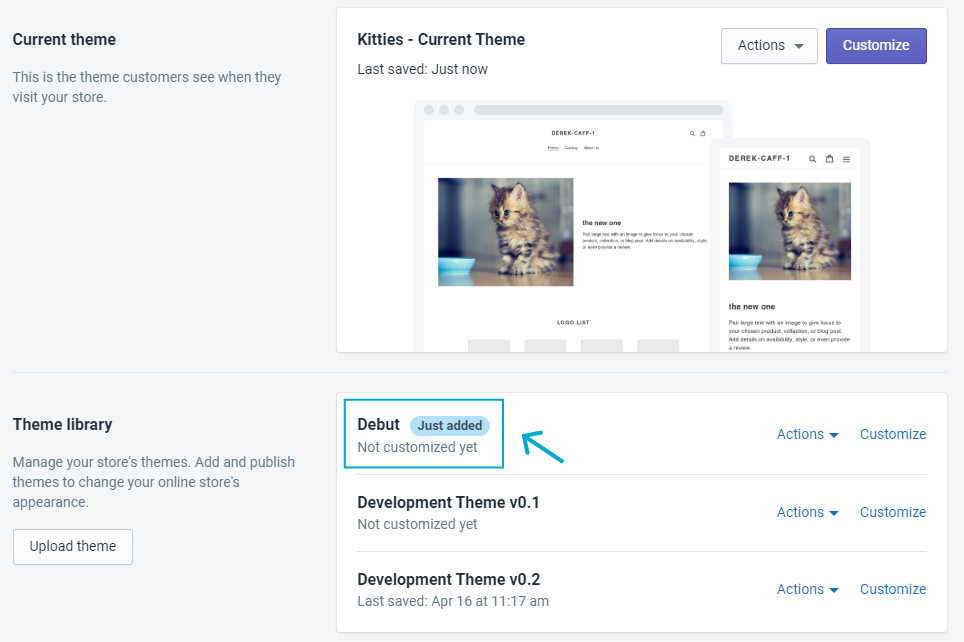
7. Then click “Add theme.”

8. You can see that the theme was added below the current theme. It has the badge “Just added.”
Then, customize the theme so it matches what your site looked like before – or integrates any changes you’re hoping to make.
9. This is a great run down of how to customize your theme – more than we have time for in this blog today, so follow their great advice.
10. Be sure to pay attention to the details:
- Does the navigation need tweaking?
- Does your logo look right?
- How does the mobile version look?
- What does the functionality feel like when using the shopping cart?
- Did you have any custom code to tweak the theme, or javascript to run analytics? Here’s where you either re-add it to the new theme, or you can see if the new version of your theme supports what you wanted without having to add code.
And lastly, go through your apps and see if they’re working – if they’re not, you may have missed some custom code associated with your old theme that the new one doesn’t have. If you can’t track it down, you may want to work with a developer to get it done quickly.
We’ll use Pinterest as an example for connecting your apps, since a lot of ecommerce shops use it as an additional marketing tool:
11. Find the app in the app store
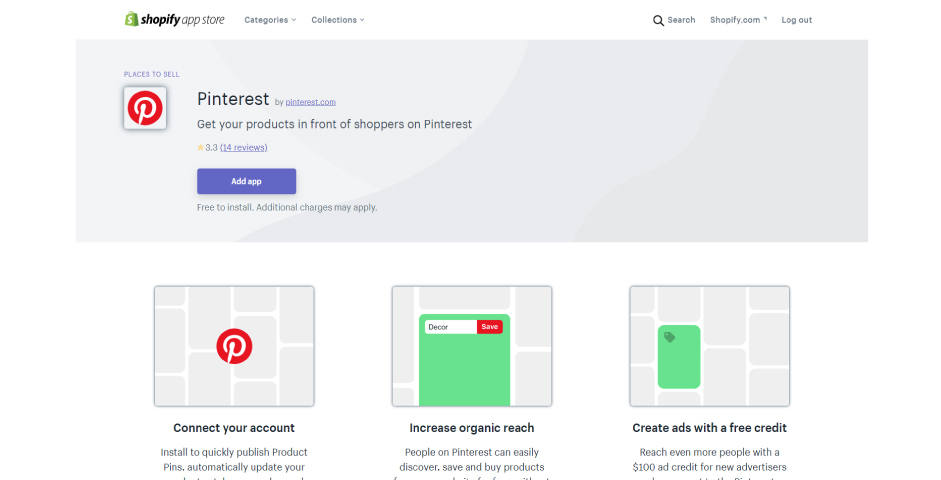
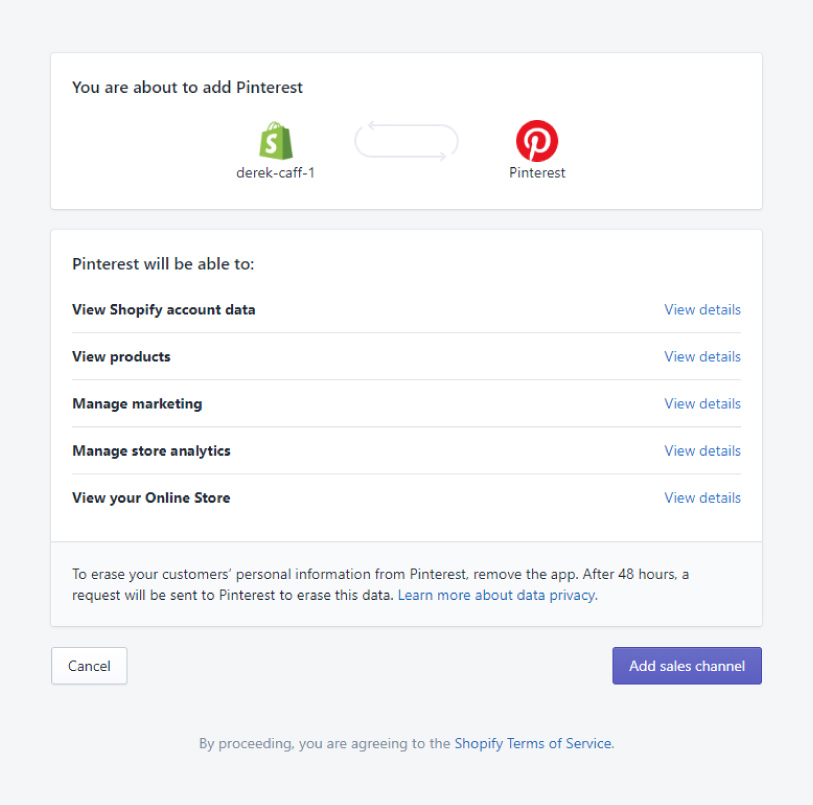
12. Be sure to read the permissions!
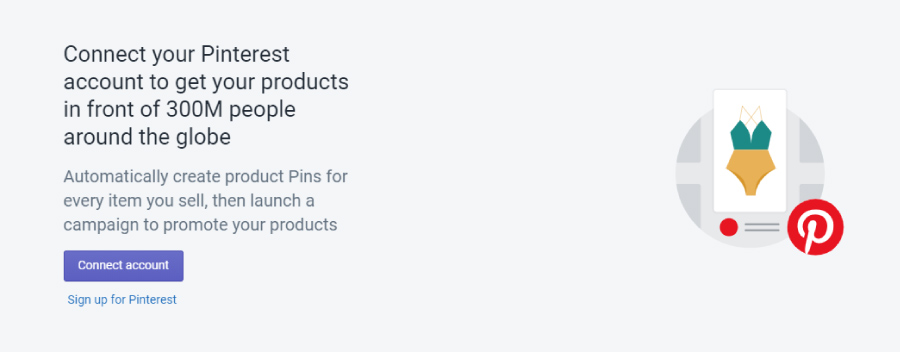
13. Finish installing the app by signing into it with your account
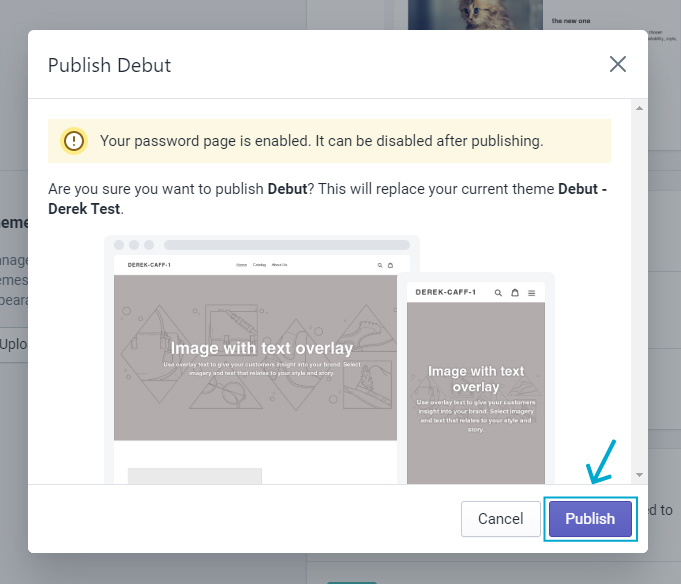
Finally, once you’re satisfied with how your new theme looks, it’s time to publish it!
14. On the themes page, click Publish in the drop down options of the theme you want to publish.
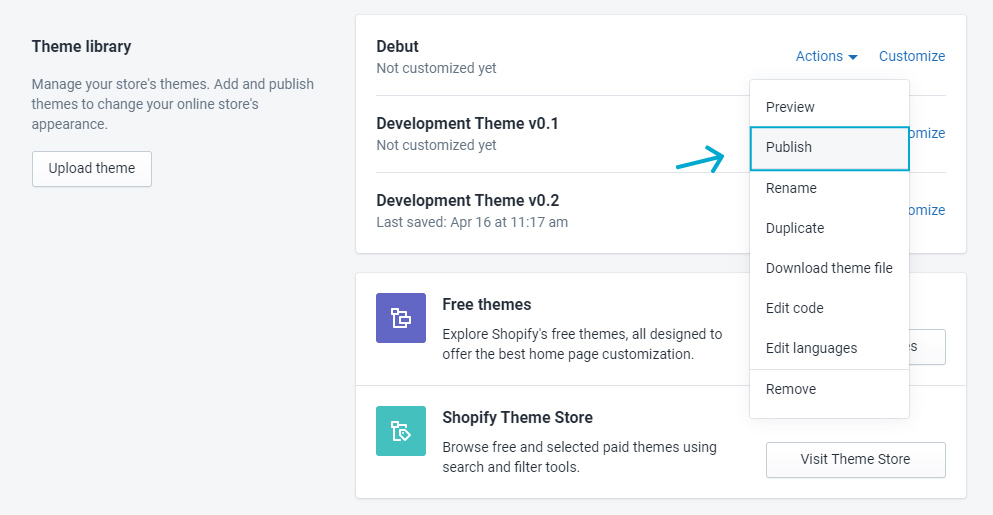
15. Confirm you want to publish it – and you’re done!
How to deal with old or highly-custom sites
Sometimes you’ll have a site that’s based on a very old or highly customized theme. When there’s such a large amount of code, sometimes it can be easier to simply build a new site – and add custom-built apps to do the heavy lifting. For example…
We recently updated a client’s site to enable some more functionality – they wanted their carts to update automatically without page refreshes if a customer changed a quantity, among other things.
The old theme version they were using required a lot of custom coding to achieve this – or, they could simply update to the latest theme version, which already did what they were looking for.
For our client, a simple update to the theme wasn’t possible. They were set up on a 2017 version of their theme, and they had hundreds of lines of custom code written to make the site function the way it did. It just wouldn’t be an easy update.
Why apps can be your best friends
Instead, we rebuilt the whole store on a test site and future-proofed the custom features they wanted by turning them into apps.
By developing custom apps, we keep the theme clear of any custom code – with no custom code on the theme, our clients can simply update it whenever a new version comes out without worrying about breaking anything.
Any other questions?
That’s it for our theme update best practices. Keeping any site up-to-date is important not only because the new features mean better business, but the security fixes mean you’re always safe.
We covered…
- Why staying up to date is important
- How to update your theme to the latest version
- How to future-proof your theme with apps
If you have any questions – or would like to help us improve this post! – let us know on our contact page.